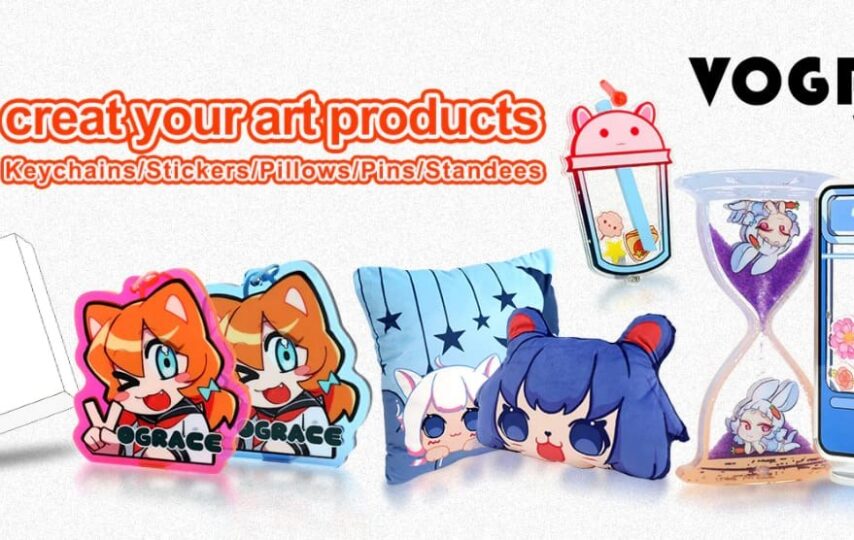
Custom clear stickers serve as an excellent medium for adding flair, personality, and branding to various surfaces. Whether you’re looking to decorate your laptop, personalize your water bottle, or promote your business on a storefront window, custom clear stickers offer versatility and style. However, achieving a flawless application requires more than simply peeling and sticking. To ensure your custom clear stickers adhere properly and maintain their visual appeal over time, it’s essential to follow a systematic approach.
This comprehensive guide provides step-by-step instructions for preparing surfaces, applying stickers with precision, and caring for them post-application.
Setting the Stage for Success
Before delving into the application process, it’s crucial to prepare the surface meticulously. Here’s how to set the stage for a successful sticker application:
Clean the Surface: Begin by thoroughly cleaning the surface where you intend to apply the sticker. Use a gentle detergent or rubbing alcohol and a lint-free cloth to remove any dirt, grease, or residue. Ensure that the surface is completely free of debris to promote optimal adhesion.
Dry the Surface: Allow the cleaned surface to air dry fully or use a clean, dry cloth to ensure it’s completely dry before proceeding. Moisture trapped beneath the sticker can compromise its adhesive properties and lead to premature peeling.
Smooth out Imperfections: Inspect the surface for any bumps, rough patches, or imperfections that could affect the sticker’s adhesion. If necessary, gently sand the area or use a smoothing tool to create a flat, even surface for the sticker to adhere to seamlessly.
Application Techniques
With the surface properly prepared, it’s time to apply the clear sticker using the following techniques:
Peeling Technique: Carefully peel the backing off the sticker, taking care to avoid touching the adhesive with your fingers. The oils from your skin can transfer onto the adhesive, potentially compromising its ability to stick effectively. Instead, hold the sticker by the edges or use tweezers for precise handling.
Placement: Align the sticker with the desired position on the surface, taking into account factors such as symmetry and spacing. Use a ruler or measuring tape for accuracy, especially when applying multiple stickers or creating a cohesive design. Once aligned, gently press down on the center of the sticker to anchor it in place.
Squeegee Method: Use a squeegee or a credit card to smooth out the sticker, starting from the center and working your way outward towards the edges. Apply firm, even pressure to ensure the sticker adheres securely to the surface and to eliminate any trapped air bubbles or wrinkles. Continue this process until the entire sticker is smoothly applied.
Heat Application: In instances where the surface is curved or the sticker requires additional conforming, consider using heat to improve adhesion. Use a hairdryer or heat gun set to a low heat setting and hold it several inches away from the sticker. Gently warm the surface, being careful not to overheat or melt the adhesive. Once warmed, use your fingers or a squeegee to press the sticker firmly onto the surface, allowing it to conform to the contours.
Post-Application Care
Once the sticker is applied, it’s essential to take proactive measures to preserve its appearance and longevity:
Avoid Harsh Conditions: Protect these custom stickers from exposure to extreme temperatures, humidity, or harsh weather conditions, as these factors can degrade the adhesive and cause the sticker to deteriorate prematurely.
Hand Washing: If the sticker is affixed to an item that requires cleaning, such as a water bottle or a vehicle surface, opt for gentle hand washing instead of using a dishwasher or abrasive cleaning agents. Use mild soap and water with a soft sponge or cloth to clean around the sticker, taking care not to apply excessive pressure that could dislodge it.
Avoid Solvents: Keep the sticker away from harsh chemicals, solvents, or abrasive cleaners, as these substances can compromise the adhesive and cause the sticker to lose its grip over time. If accidental exposure occurs, promptly rinse the affected area with water and pat dry to minimize damage.
Regular Inspection: Periodically inspect the sticker for any signs of wear, peeling, or damage. If you notice any areas where the sticker is lifting or beginning to show signs of deterioration, take prompt action to address them. Use a squeegee to reapply pressure to any lifted edges and ensure proper adhesion. Additionally, consider applying a clear protective coating over the sticker to enhance durability and resistance to fading or scratching.
Final Thoughts
Custom clear stickers offer a versatile and visually appealing way to customize and decorate a wide range of surfaces. By following the steps outlined in this guide, you can achieve professional-quality results and prolong the lifespan of your custom clear stickers. From surface preparation to precise application techniques and post-application care, each step plays a crucial role in ensuring a flawless finish.
So, unleash your creativity, express yourself, and make a lasting impression with custom clear stickers that command attention and admiration. With the right techniques and attention to detail, the possibilities are endless.


