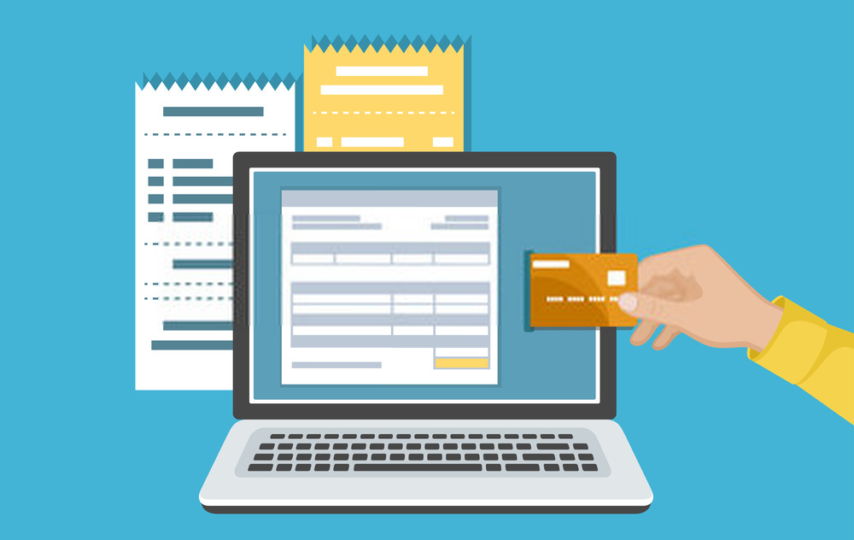
Online payment forms allow customers to pay for services and goods over the Internet. While they’re not as robust as a full-scale shopping cart, they’re flexible enough for one-time service payments. Using these forms also increases the chances of getting paid for the service you’re offering. These forms also allow you to collect credit card details and store them on your website for future use. They can be built for many purposes, including polls, attendance, survey tools, and event registration.
Fields and Appearance
After you create your form, you’ll need to set up the components. You can add fields and modify their appearance by clicking on the “Edit” button. You’ll also want to make sure to enable the ‘Auto-fill’ feature. This feature allows customers to log in, review their information, and then submit it. It’s also beneficial to have a secure payment form, so make sure you include the logo of your data security provider. Additionally, if you use a third party payment processor, you can use a seal to indicate that it’s a secure site.
After you’ve uploaded your form, you’ll need to set up the components of your form. You’ll need to input a title and a description for your form. The title will be the main title of the form, while the subtitle will appear below it. You’ll need to enter this information once, twice, or three times. These fields are important to your business. The description is helpful if you want to explain what a payment form is.
Pre-Designed Templates
Once you’ve set up your form, you can add or edit it. You can add new fields, disable payment processing, or use the drag-and-drop feature to add and remove sections. If you need a form with custom fields, you can choose a template for the particular task. You can also access a list of pre-designed templates to get you started. In addition to these, you can choose from a number of templates, including payment forms.
You can create and configure payment forms by selecting the form template. In the Payment Forms panel, you can add or edit the elements of your form. A form’s title will appear as its main title at the top of the page. The subtitle will appear below the main title. You can customize its appearance and functionality using the settings provided in the templates. They are compatible with all the most popular browsers and can be easily integrated with other tools.
Attractive To Your Customers
To customize a payment form, you can use the drag-and-drop feature and use a template. You can also change the appearance of the form by adding and deleting fields. In this way, you can create a payment form that’s compatible with the platform of your choice. Besides, you can add a payment form template to your website to increase its credibility. This will make your form more attractive to your customers. You can also choose a template that’s compatible with the platform you’re using.
You can also customize the payment form by changing its appearance. The most popular type of payment form is the one with a drop-down field. Its drop-down menu includes the form’s title, and its contents. When the form is opened, it displays the payment gateway’s default screen and the payment information of the customer. It’s easy to add fields by dragging them into the template. There are no limits to the number of fields you can customize.
Creating and Editing
Once you have created your payment form, you can start creating and editing it. By clicking on the “Instructions” tab, you can add, remove, and edit payment form components. Then, you can add a new field or edit an existing one. You can also choose to disable payment processing altogether. There’s a variety of settings available. You can choose the ones that best suit your needs. You can customize your form’s appearance according to the preferences and requirements of your clients.
Once you’ve created your payment form, you need to customize it. You can add a new form or edit an existing one. If you need to change the appearance of a particular section, you can also change the text and the background color. To change the color of a field, click on it. You can then click on the “Edit” tab. This tab provides you with a summary of the changes you’ve made.


