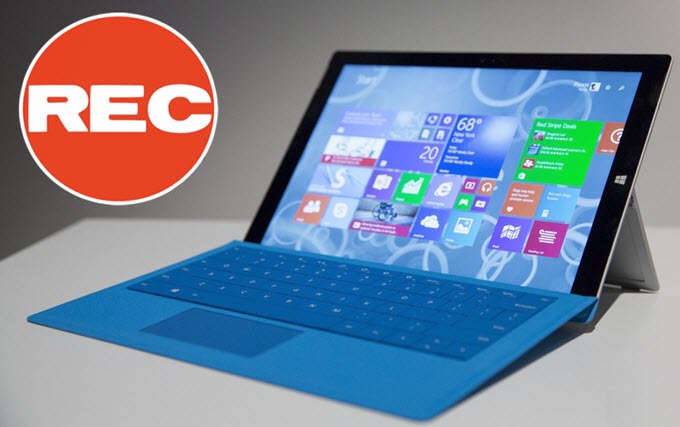
Are you looking for ways to record your screen on your Surface Pro? Whether you need to create a tutorial, record a presentation, or capture gameplay, screen recording can be a useful tool. In this article, we will explore three different ways to screen record on your Surface Pro.
Part 1. Try Gemoo Recorder
If you need more advanced features or want to customize your recording settings, you can use Gemoo Recorder. It is the leading screen recording software for Windows in 2023. It offers high-definition screen recording without any notifications to others.
If you’re looking to record yourself on your surface pro for various reasons, such as taking notes from the video, preserving a special moment, sharing it with others, or keeping evidence of a conversation or interaction, Gemoo Recorder is the perfect solution. It provides four recording options, including Record Screen & Camera, Record Camera, Record Screen, and Record Audio, to meet all your recording needs. Check out Gemoo Recorder’s key features and see how it works.
Gemoo Recorder Key Features
- Record Full HD videos without any restrictions on the number or length of recordings.
- With just one click, you can easily record or upload videos.
- Your recorded videos will not have any ads or watermarks displayed on them.
- Can use a variety of editing materials such as numbers, text, GIFs, shapes, and more to showcase your creativity and express your ideas.
Here are the steps to record video on the surface pro.
Step 1. To start with, download Gemoo Recorder on your surface pro. After launching it, choose the “Screen Only” mode by clicking on it from the interface.
Choose the Screen Only Mode
Step 2. Click on the Start Recording option and wait for the 3-second timer to commence. As soon as it starts, your screen will begin recording.
Step 3. During the recording process, you can simply click on the “Add Annotation” button and utilize the editing tools that are provided to beautify you videos as you like.
Annotate Your video
Step 4. To end the recording, click on the red Stop button, and the recorded video will be
uploaded to Gemoo Cloud automatically where you can manage your files.
Finish Recording
Part 2. With the Built-in Screen Recorder Game Bar
The easiest way to record your screen on a Surface Pro is to use the built-in screen recorder. This feature is available on Windows 10 and can be accessed through the Game Bar. Here’s how to use it:
Step 1. Press the Windows key + G to open the Game Bar.
Step 2. Click on the “Record” button to start recording.
Step 3. Choose the area of the screen you want to record.
Step 4. Click on the “Record” button again to stop recording.
Step 5. The recorded video will be saved in the “Captures” folder in your Videos library.
Part 3. Using the Microsoft Stream
Microsoft Stream is a video streaming service that allows users to securely upload, share, and manage videos within their organization. With Microsoft Stream, users can easily create and share videos for training, presentations, and other business purposes. The service also includes features such as automatic transcription and closed captioning, making it easier for users to search and understand the content of their videos. Microsoft Stream is integrated with other Microsoft products such as Teams and SharePoint, making it a seamless part of the Microsoft ecosystem.
To screen record on your Surface Pro using Microsoft Stream, follow these steps:
Step 1. Open Microsoft Stream on your Surface Pro.
Step 2. Click on the “Create” button located in the top right corner of the screen.
Step 3. Select “Record screen” from the drop-down menu.
Step 4. Choose whether you want to record your entire screen or just a specific window.
Step 5. Click on the “Record” button to start recording.
Step 6. Once you’re done recording, click on the “Stop” button.
Step 7. You can then preview your recording and edit it if necessary.
Step 8. Finally, click on the “Publish” button to save your recording to Microsoft Stream.
That’s it! You’ve successfully screen recorded on your Surface Pro using Microsoft Stream.
FAQ about Record Screen on Surface Pro
1. Can I record my screen on Surface Pro?
Yes, you can record your screen on Surface Pro using the built-in Xbox Game Bar app or a third-party recording tool like Gemoo Recorder.
2. How do I access the Xbox Game Bar app?
Press the Windows key + G to open the Xbox Game Bar app.
3. Can I record my entire screen or just a specific window?
You can choose to record your entire screen or just a specific window.
4. Where are my recordings saved?
If you use Game Bar to Record video, your recordings are saved in the “Captures” folder in your Videos library.
5. Can I edit my recordings?
A: Yes, you can edit your recordings using video editing software such as Windows Movie Maker or Adobe Premiere Pro or use a third-party recording tool like Gemoo Recorder, which you can edit your video during the recording process.
Conclusion
In conclusion, Screen Recording on Surface Pro is a useful feature that allows users to capture and share their screen activities. It is easy to use and offers various options for customization, such as selecting the audio source and recording quality. However, it is important to note that the feature may not be available on all Surface Pro models and may require additional software or updates. Overall, Screen Recording on Surface Pro is a valuable tool for professionals, educators, and anyone who needs to create instructional or informative videos.


